Webhook

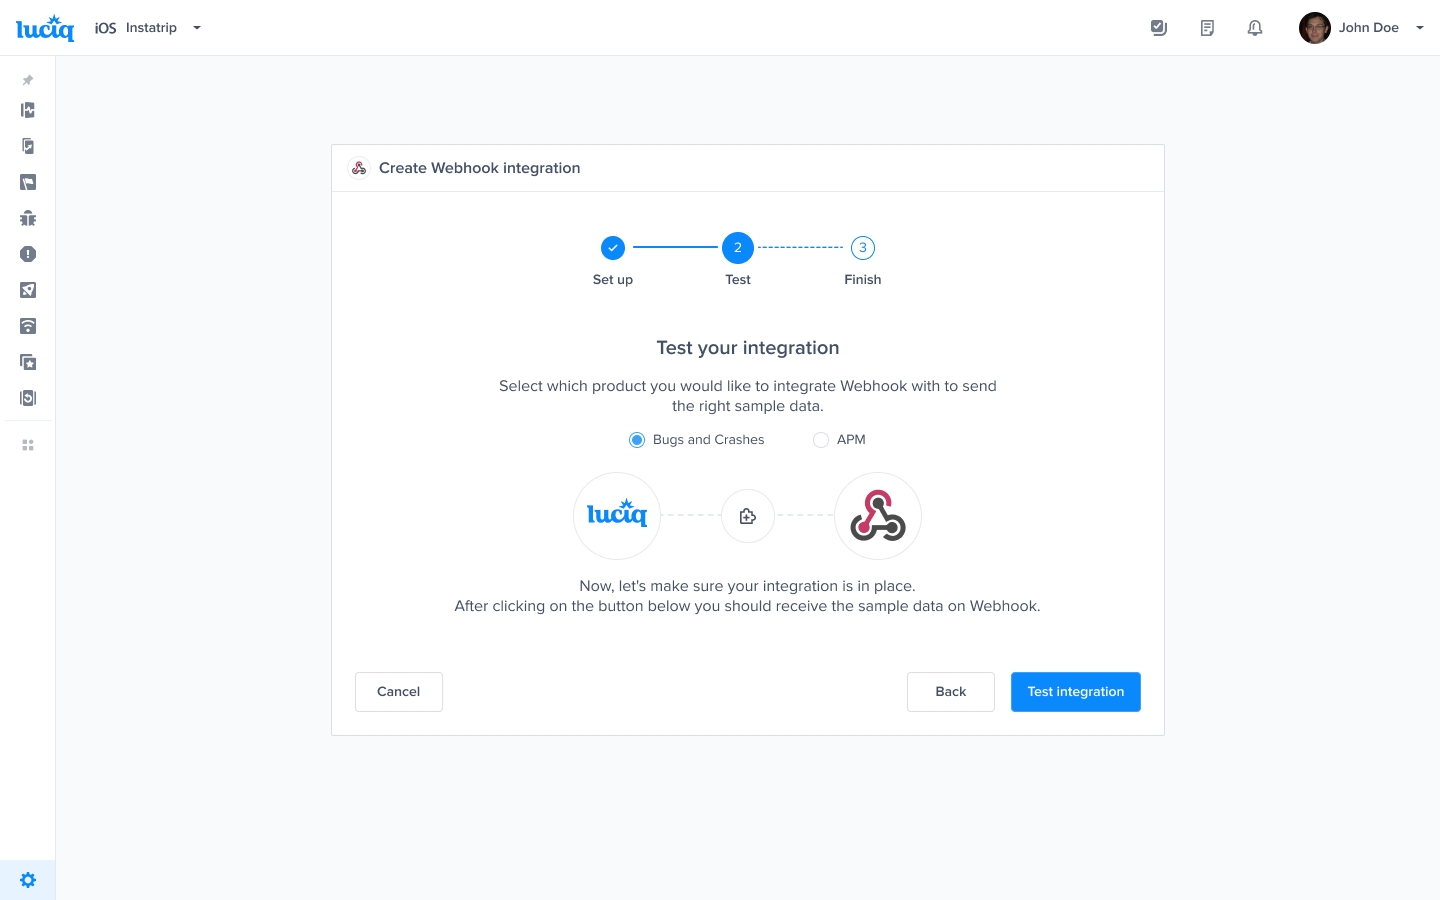
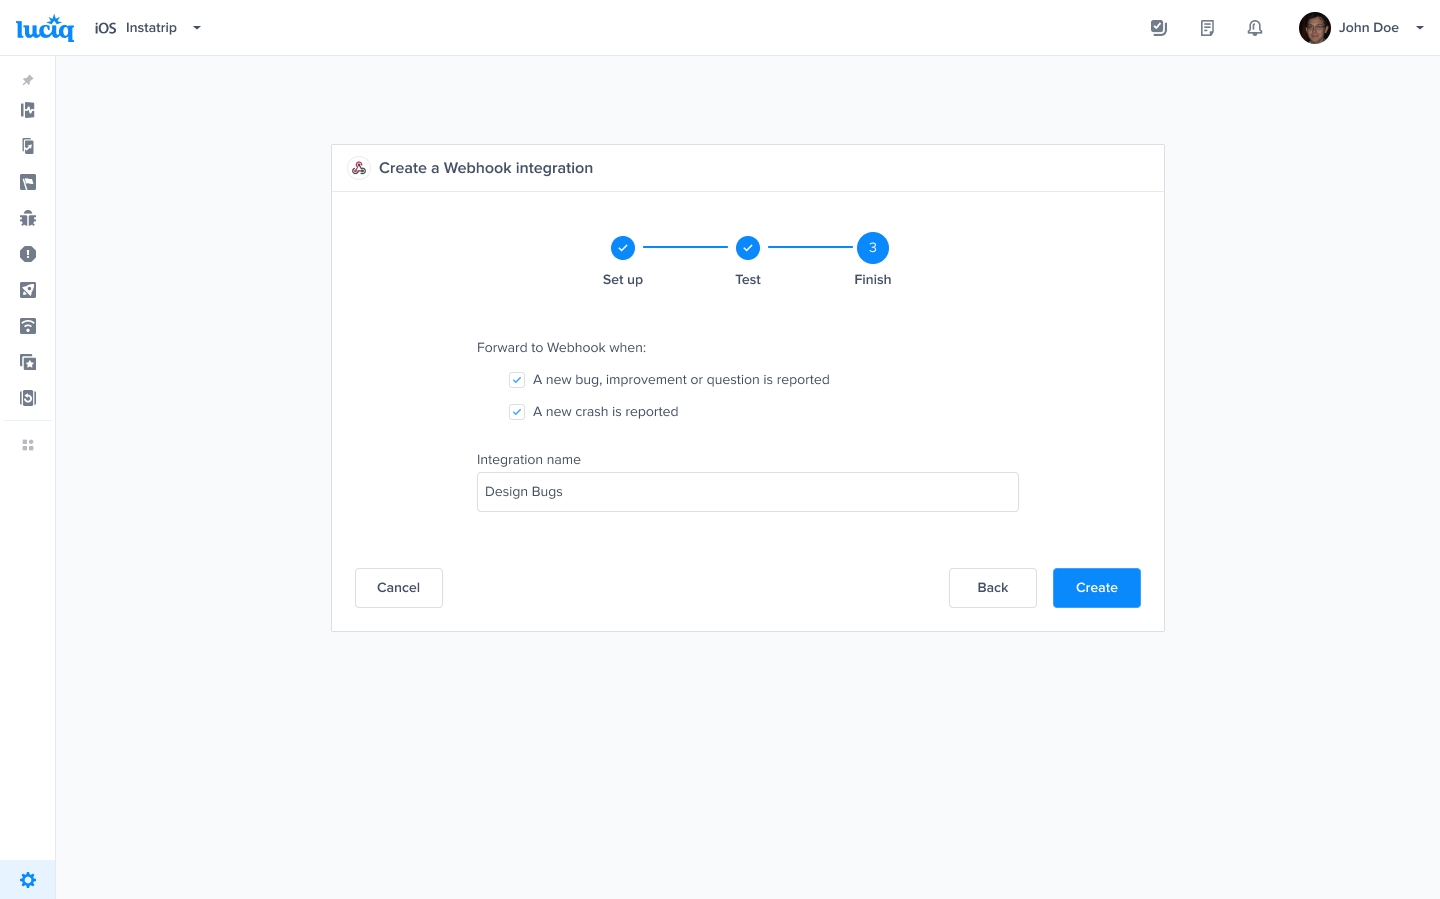
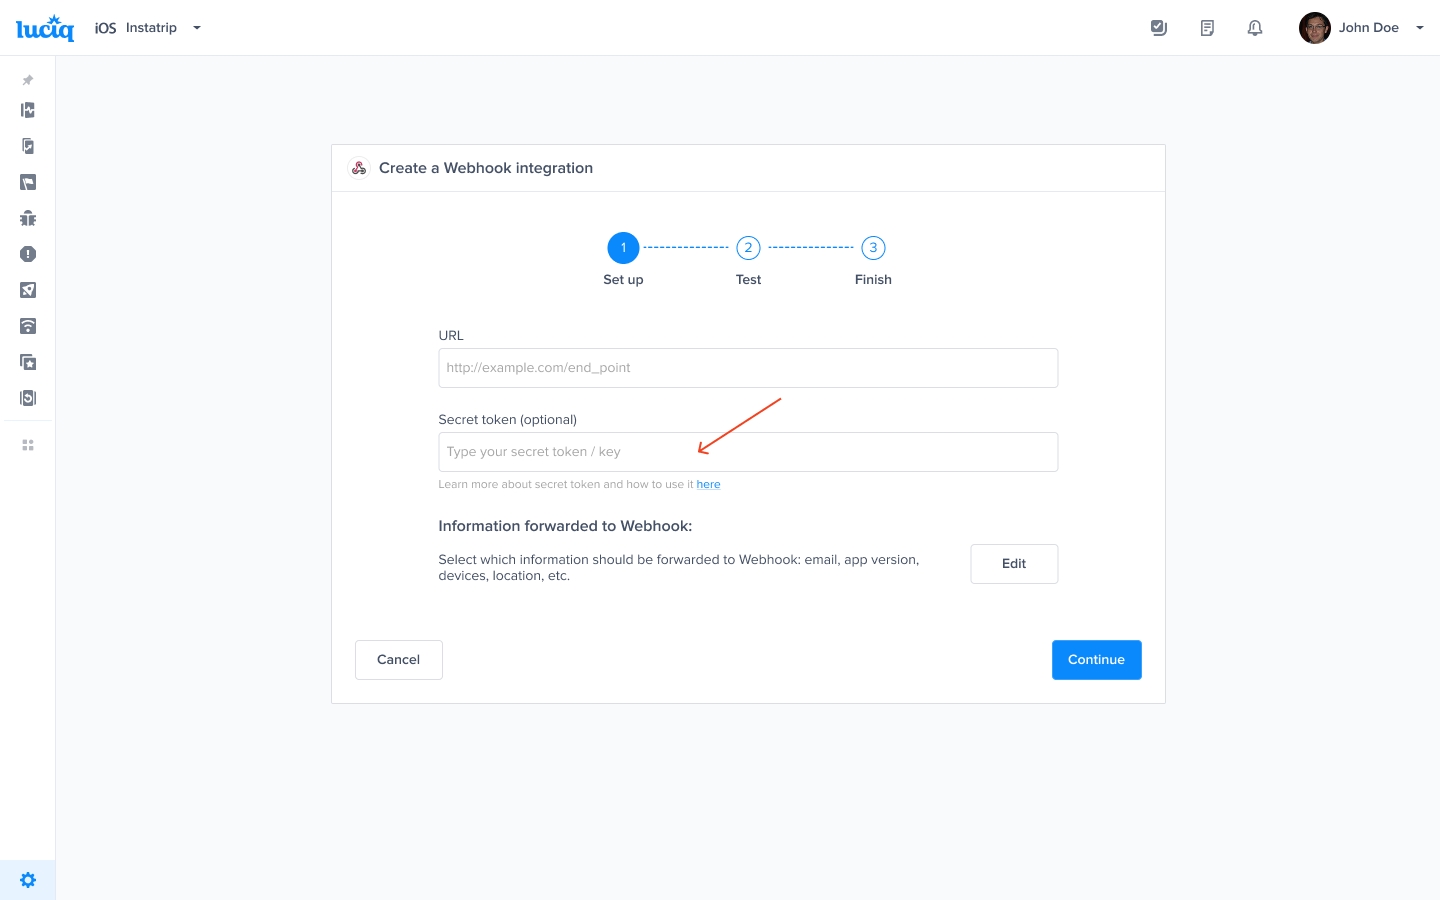
Setting up the Integration

1

Add your Webhook URL

To set up your Webhook integration, add the link to which Luciq should forward your reports. You can also choose which details get forwarded.

2

Select products and test

Select the products that you would like to integrate with, whether Bugs & Crashes or APM, and test your integration so that everything is working smoothly.

3

Finish and enable forwarding

All done! Your integration is now set up and ready. From this final page, you can allow automatic forwarding (this can be reconfigured at any time).

Below, you can find more details about the JSON payloads that you will receive.

Crashes' JSON model:

Bugs' JSON model:

APMs' JSON model:

Using Secret Tokens

Ensure your server is only receiving the expected Luciq requests for security reasons.

1

Creating a secret

Create a random alphanumeric secret that’s at least 16 characters and has a maximum of 64 characters.

Here’s a sample secret: d8yyxj7srjqf5xyih8ay

Note: please make sure to save this secret.

2

Bind the secret with Webhooks

Create a Webhook integration on Luciq then enter the secret you created in the “Secret token” field.

3

Save the integration

After saving the integration, each request that is sent from this integration will have an extra field in the header called x-lcq-signature-256.

4

Authenticate incoming requests

Once your server receives the response from Luciq, do the following:

  • Hash the response body using the Secret token you created.

  • Use the sha256 algorithm for hashing.

  • Compare the result of the hash with the header x-lcq-signature-256.

5

Verify the signature

  • If the results are equal, then it means it’s sent from Luciq.

  • If they are not equal, then it’s not sent from Luciq.

Last updated