

Jira Cloud
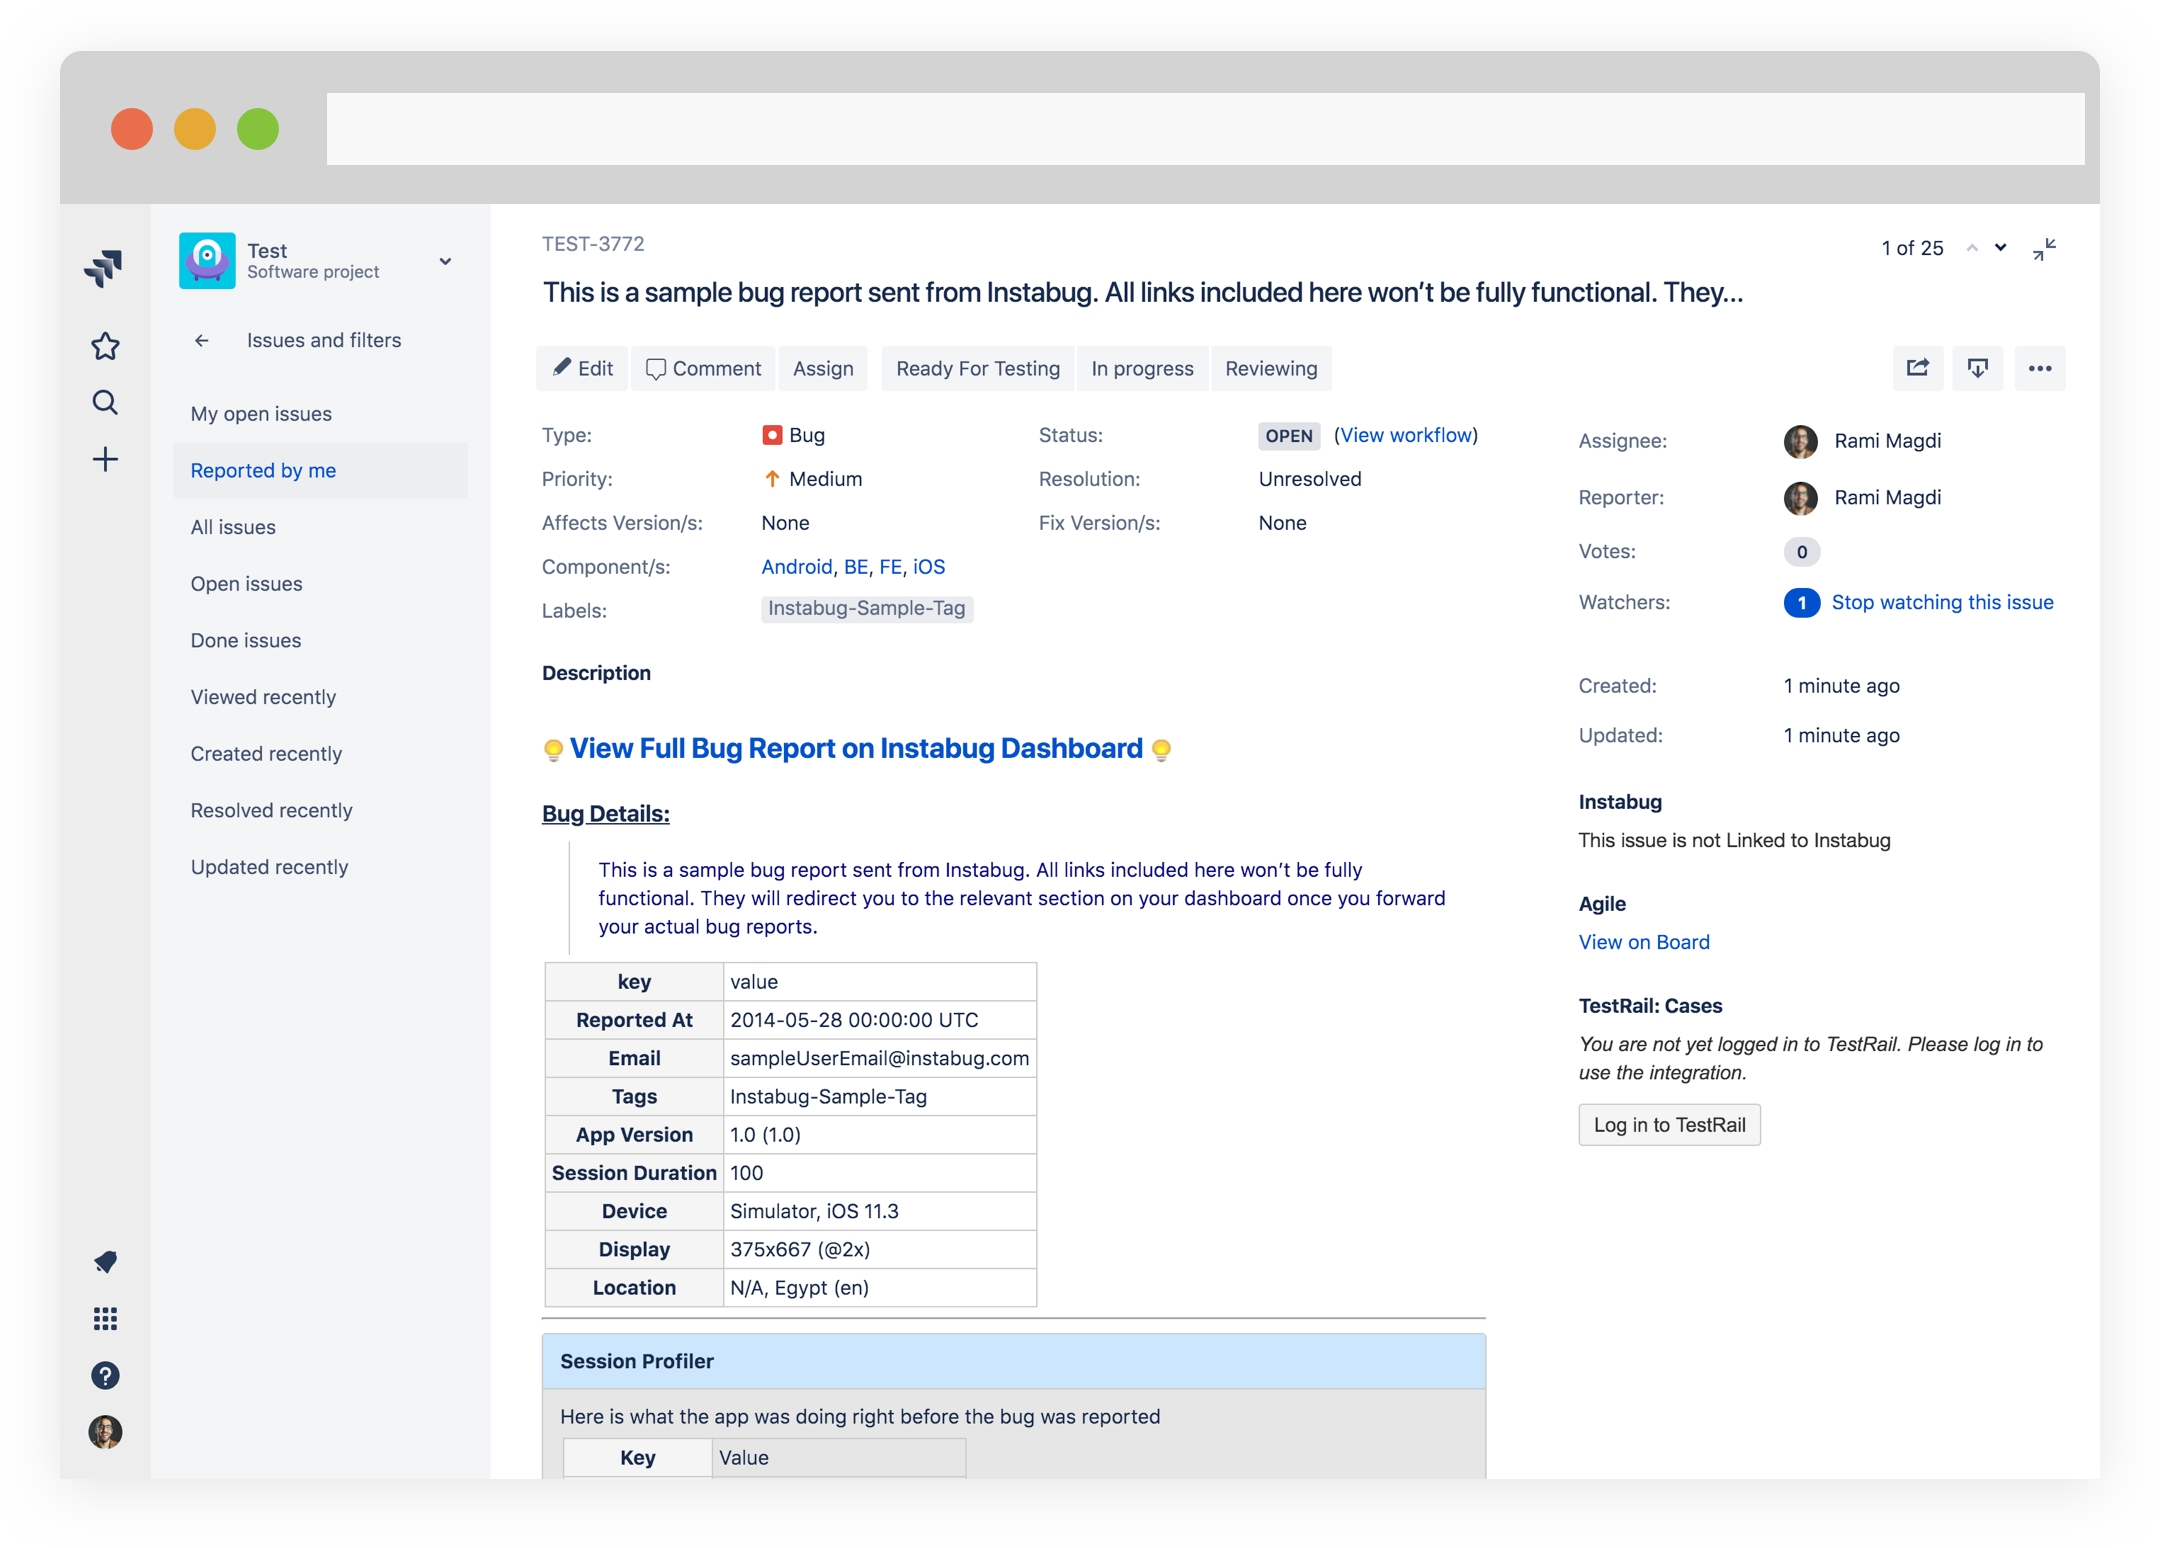
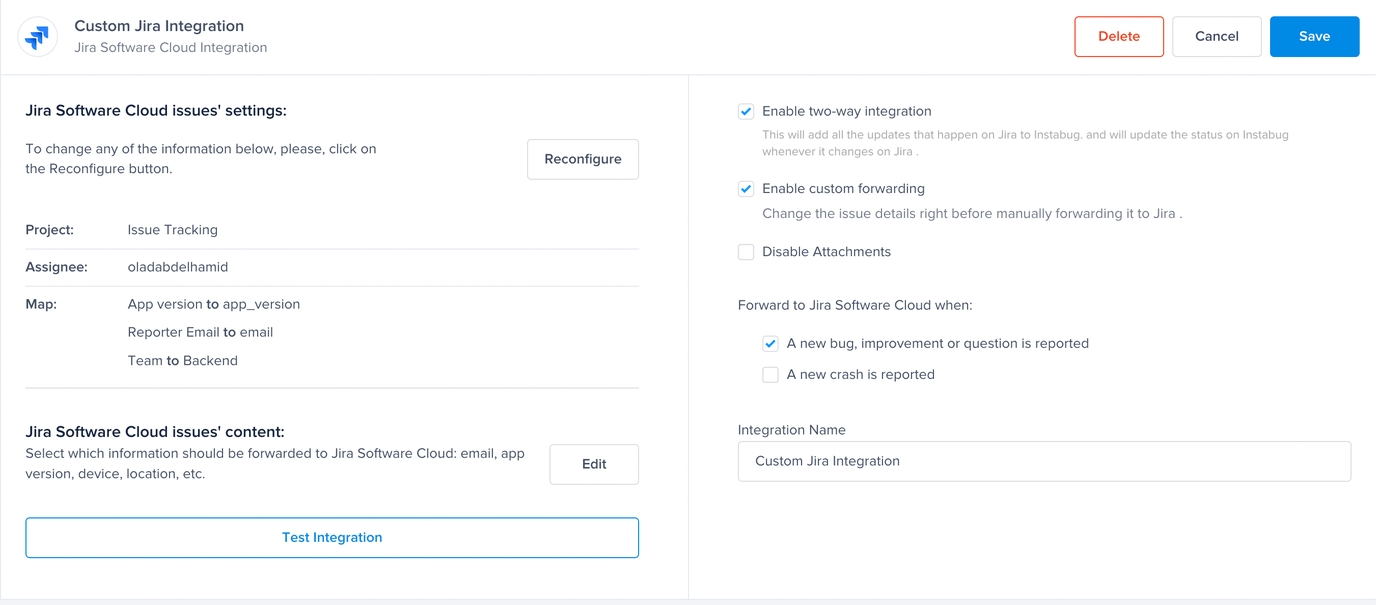
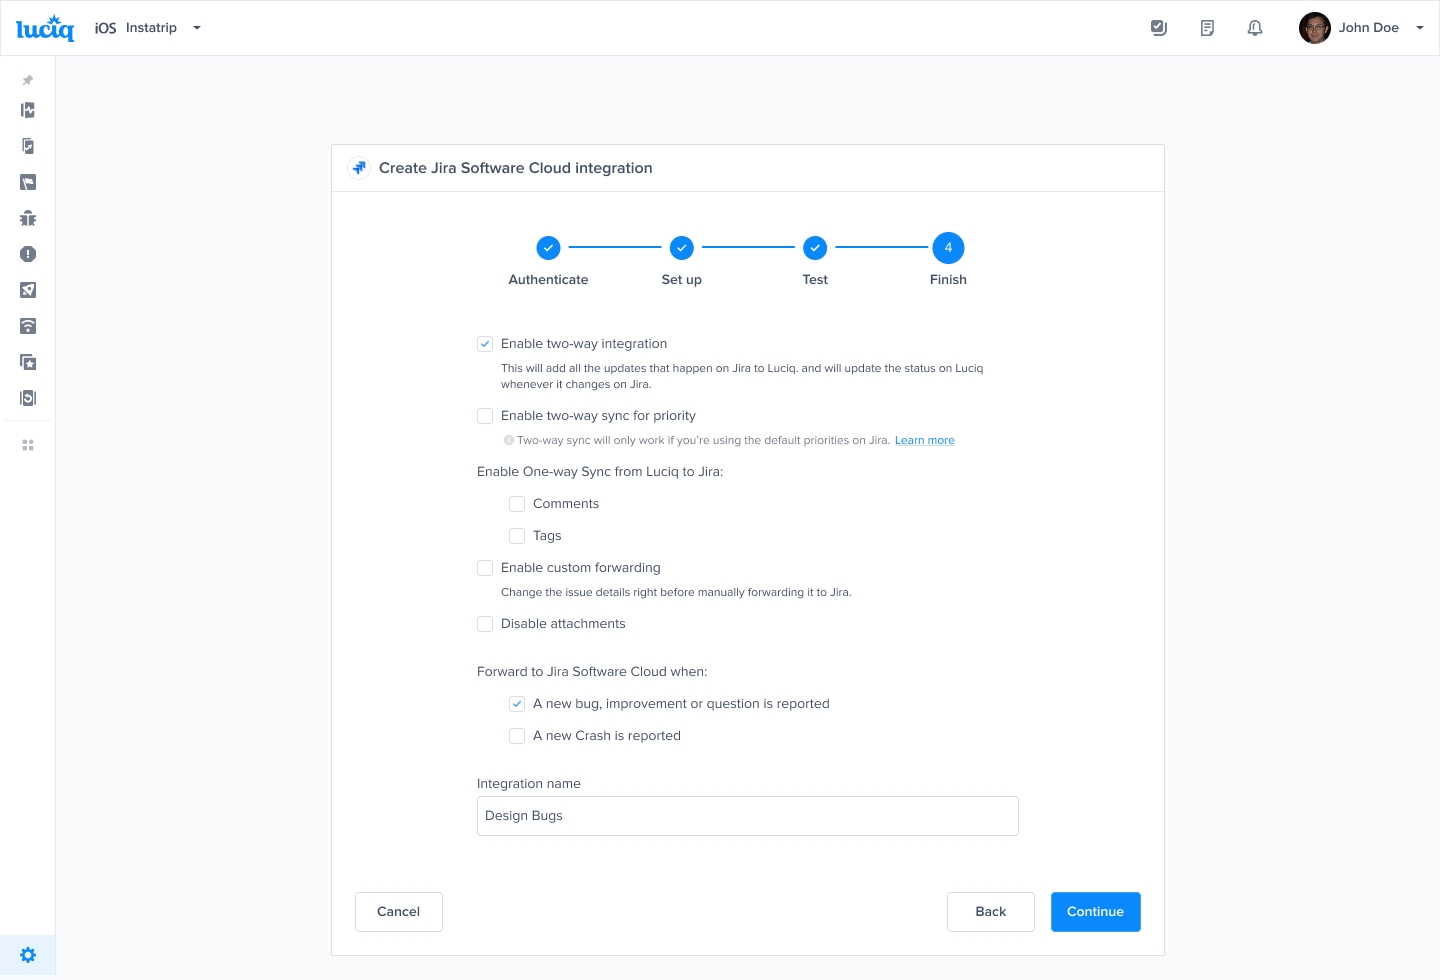
Allow your users and beta testers to report bugs and send feedback directly from your app and have them automatically logged into your Jira project. Luciq offers a two-way integration when the integration is done through Jira, meaning that the status and comments on the Jira ticket will also be reflected on the bug report on your Luciq dashboard.
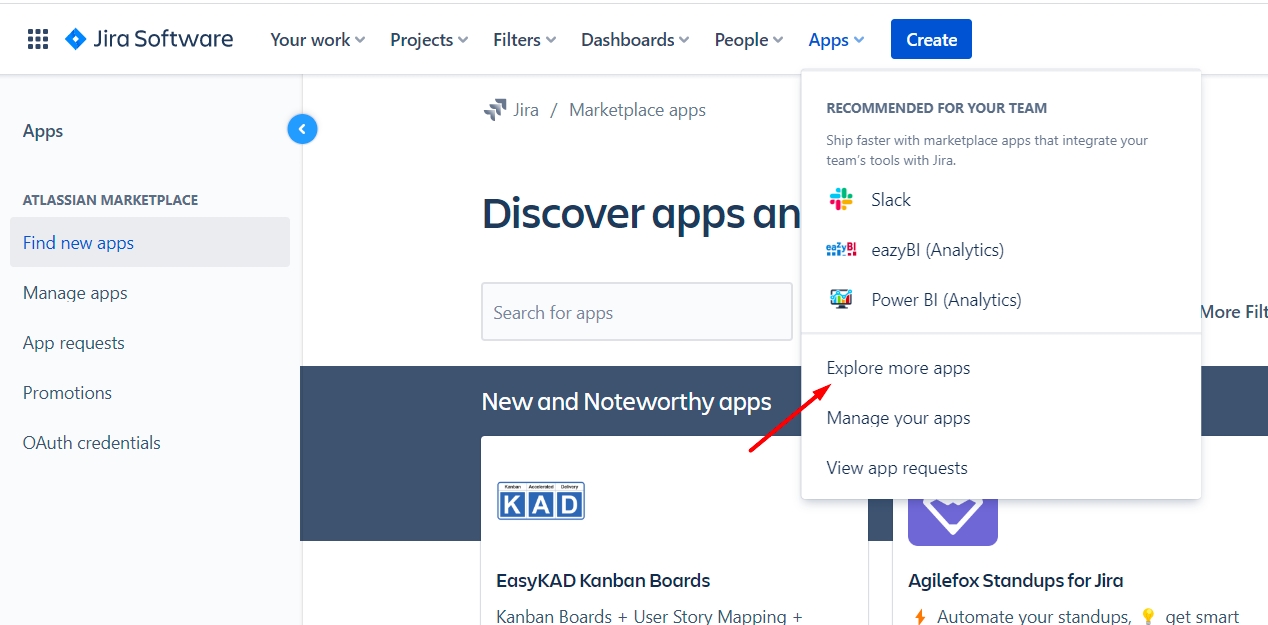
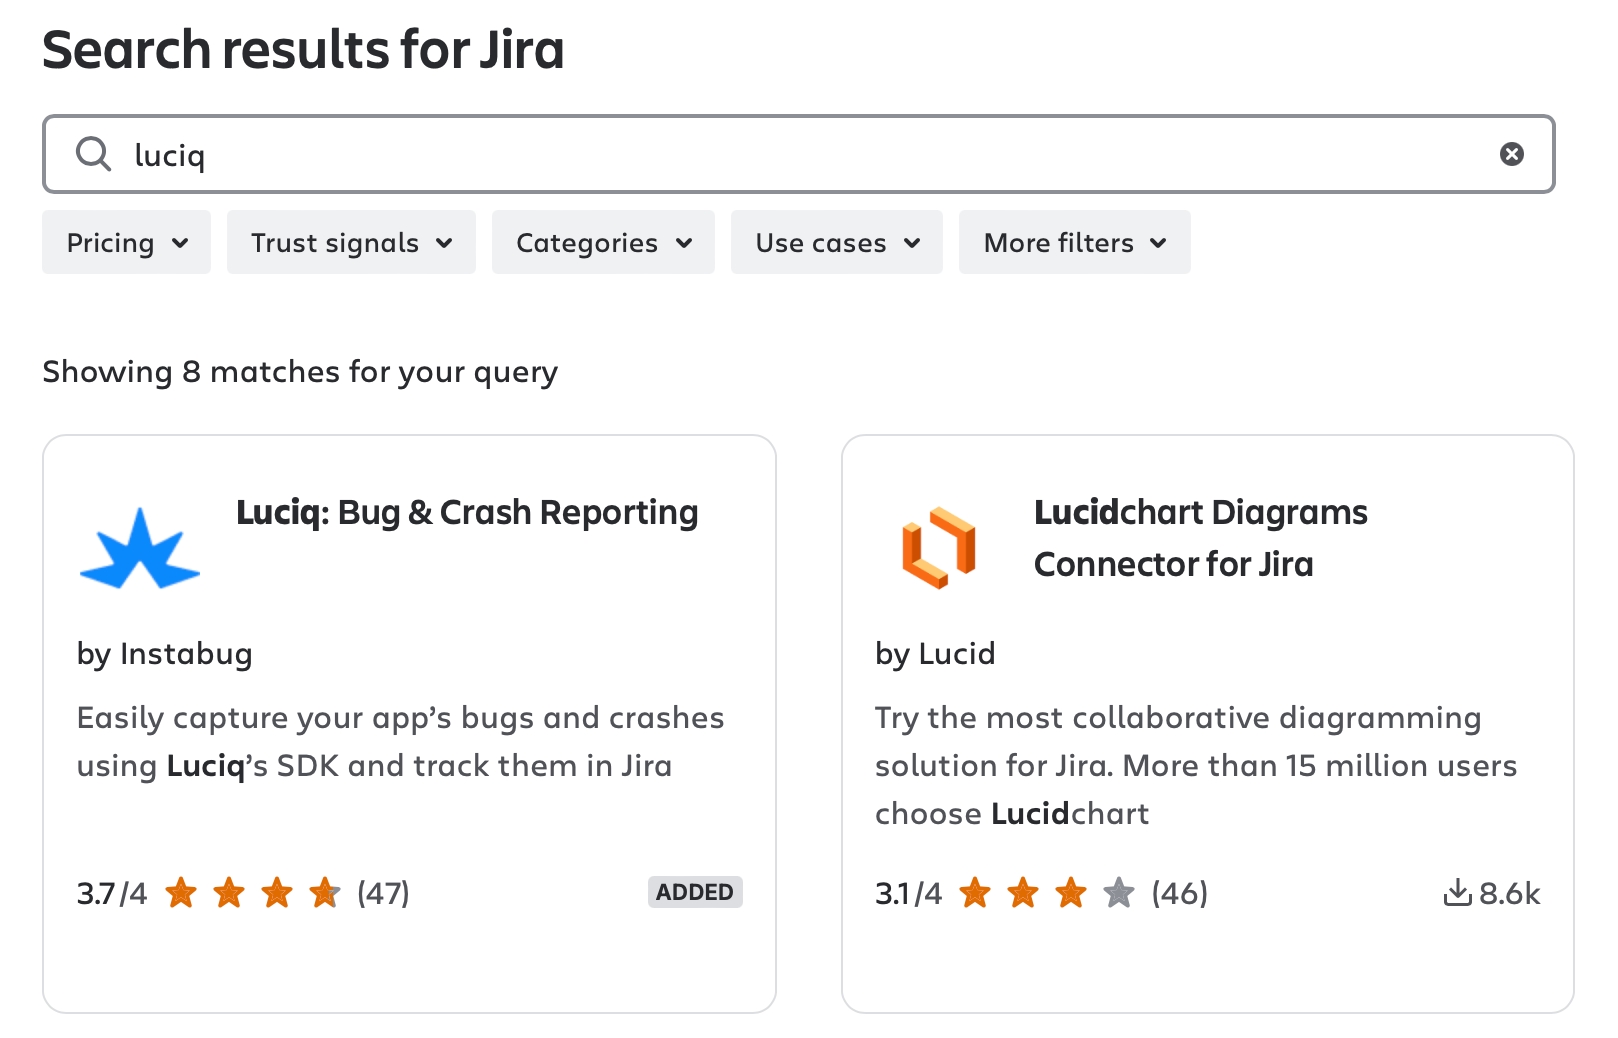
Through Jira Add-On
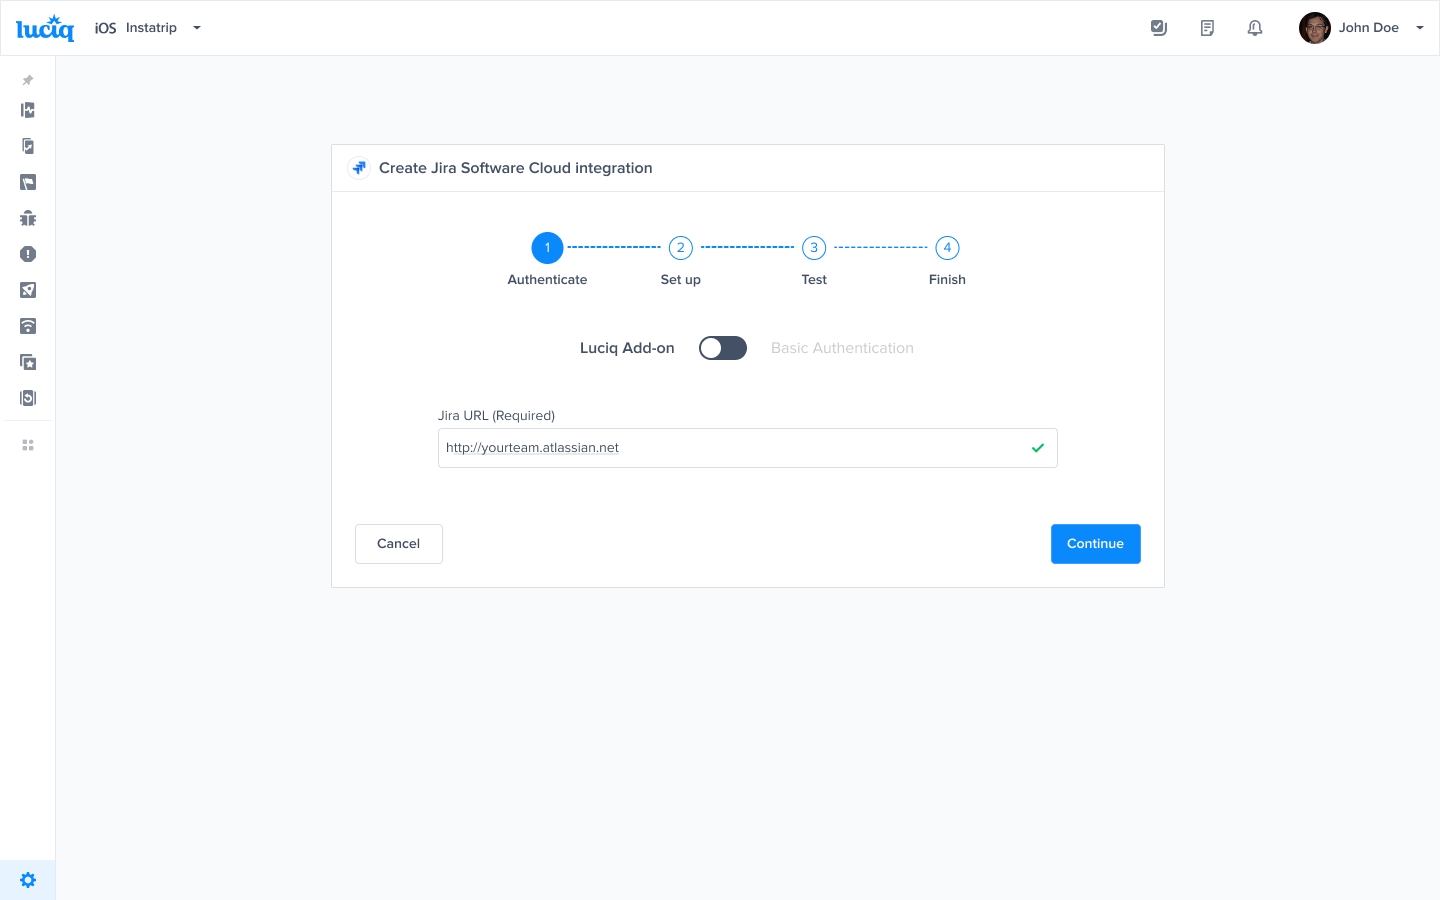


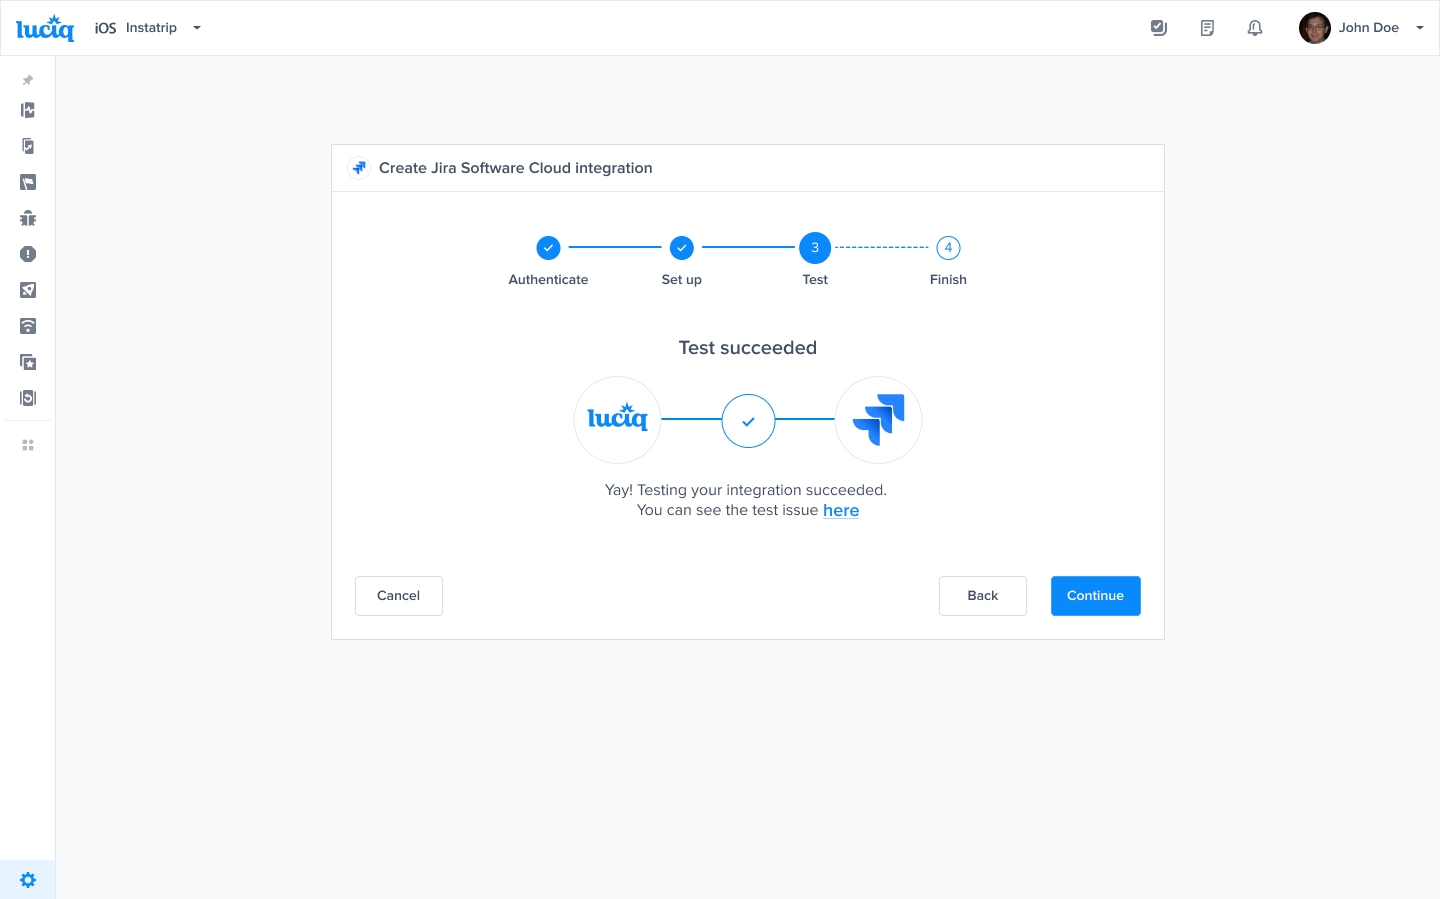
Through Luciq
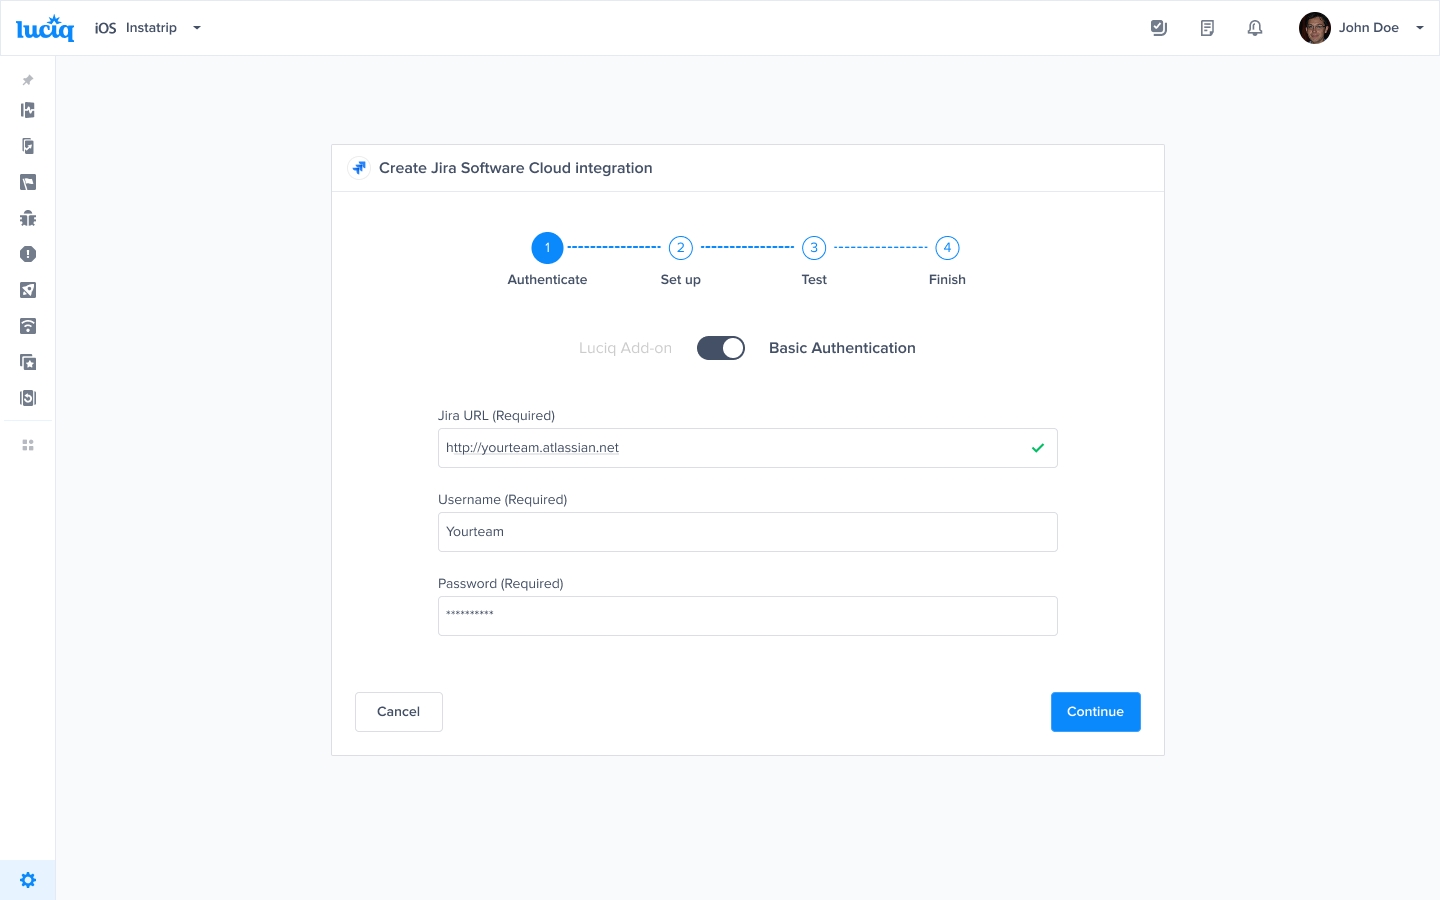
Enter Jira credentials
Insert your Jira Email, API Token (which can be retrieved from here), and URL.


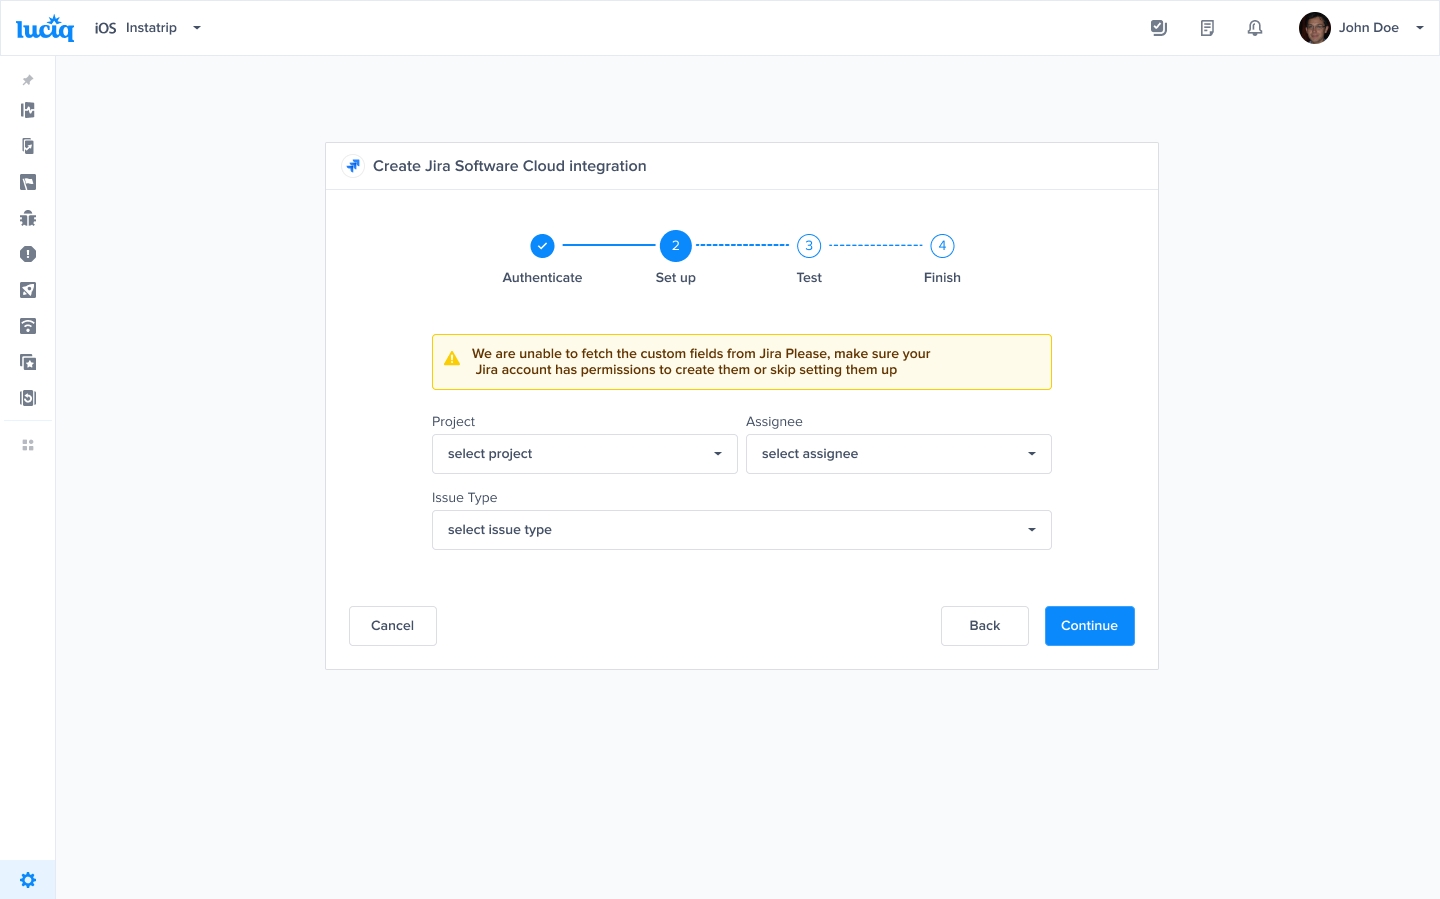
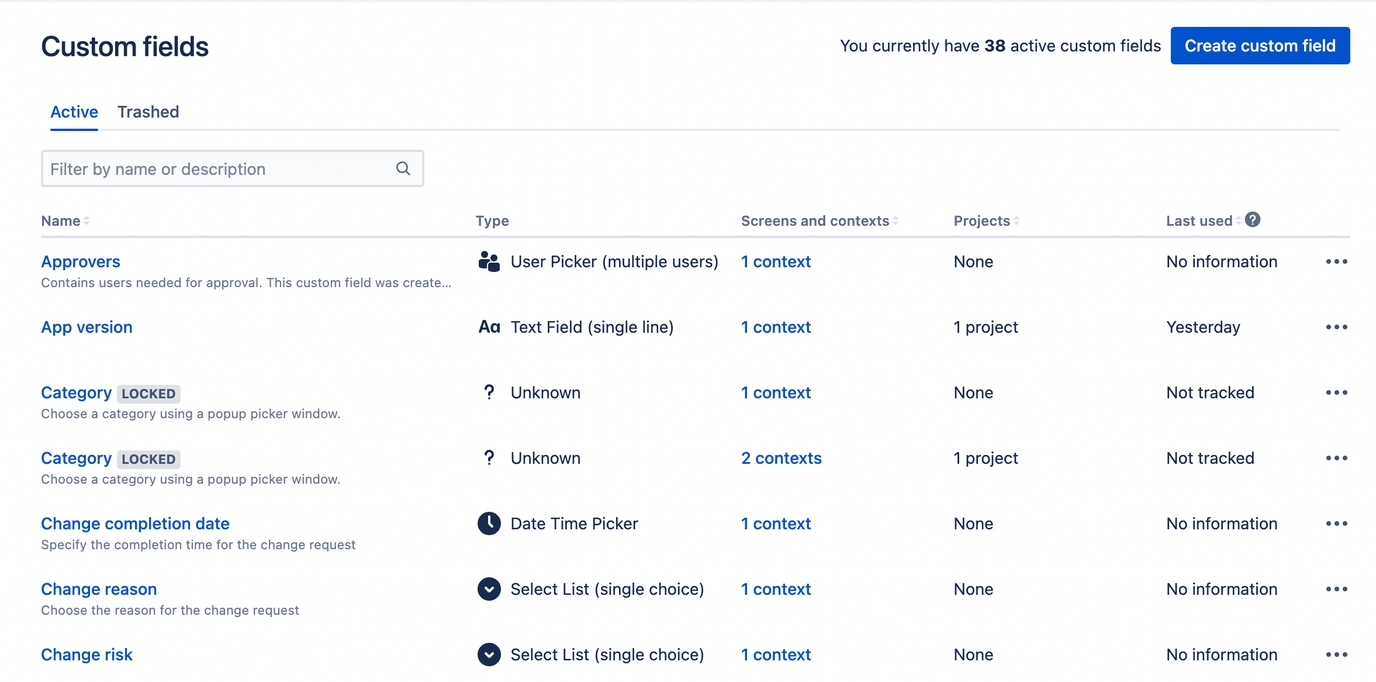
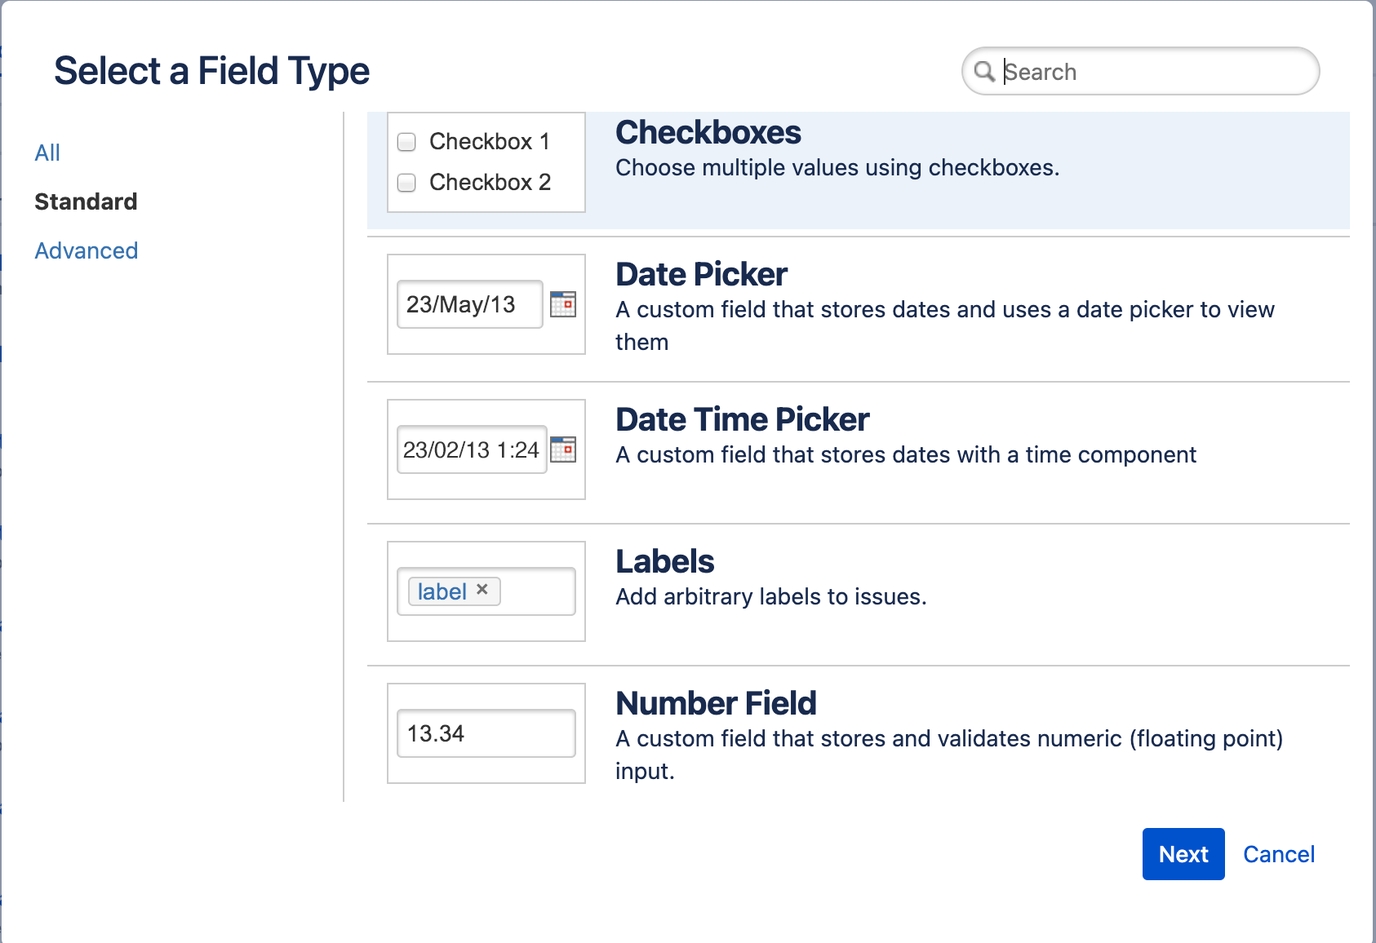
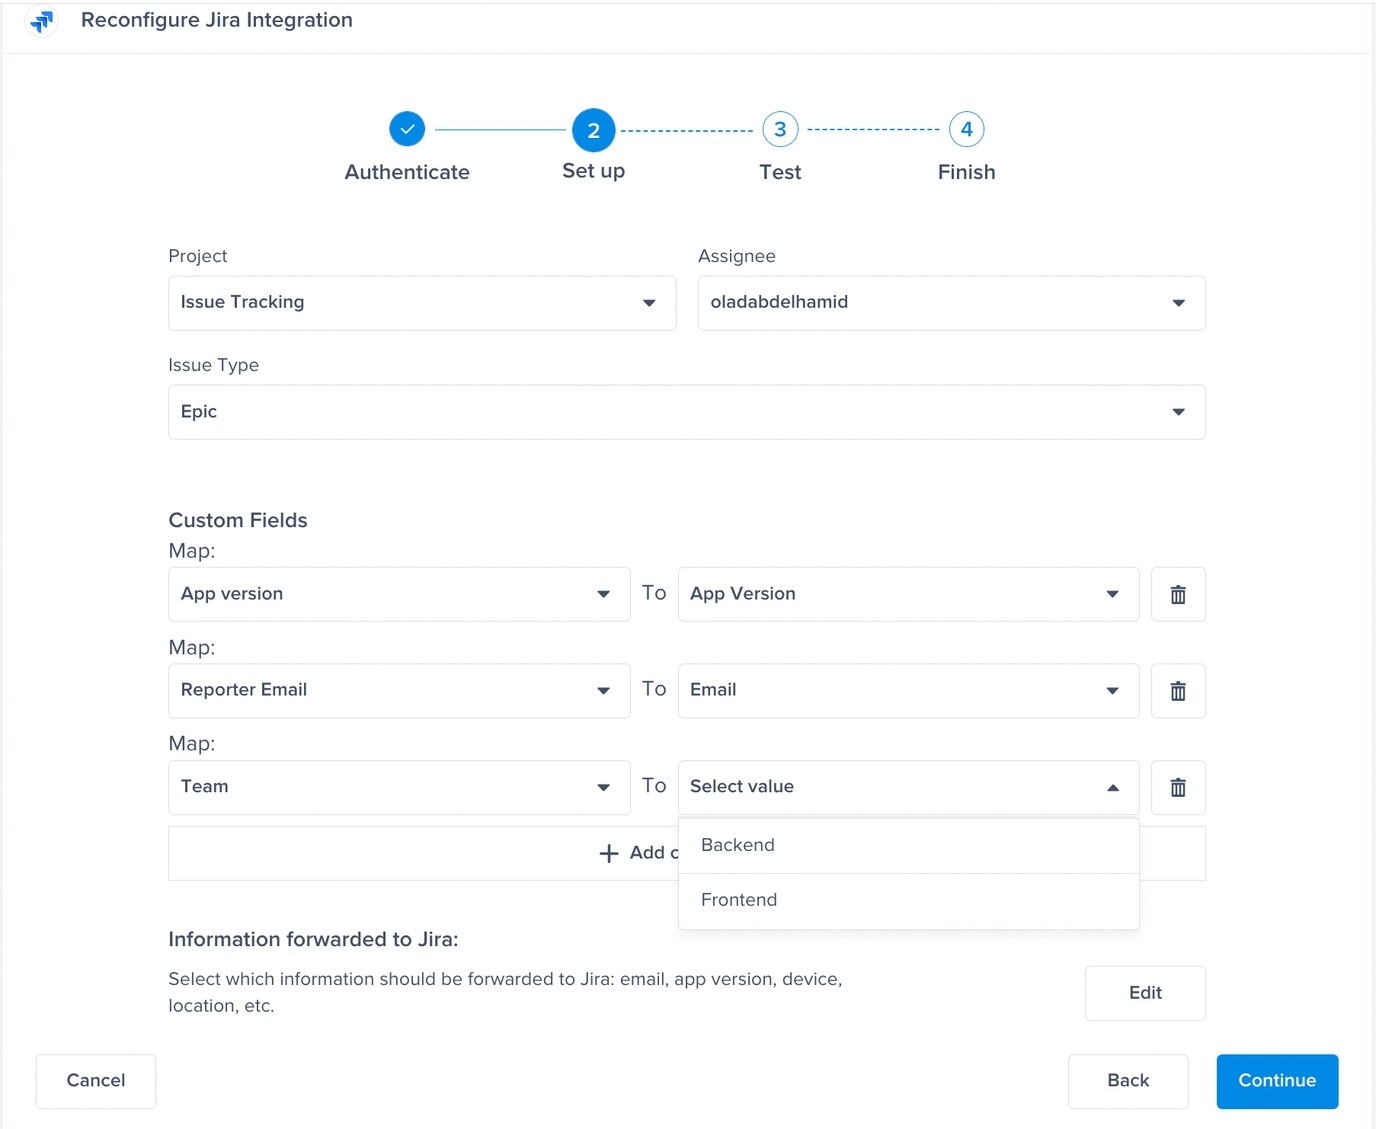
Mapping Custom Fields
This section covers how to map Jira custom fields to fields from the Luciq dashboard.
Priority Sync
Once you enable two-way sync for the priority, any change done to the priority field in our dashboard will be reflected in Jira and vice versa.
Two-way sync for the priority will only work if you are using the default priorities in Jira. If you are using custom priorities, the bug will be forwarded to Jira successfully, but the priority will not be synced.
Priority Mapping
NA
Medium
Trivial
Lowest
Minor
Low
Major
High
Blocker
Highest
Last updated