

Integrate Luciq on React Native
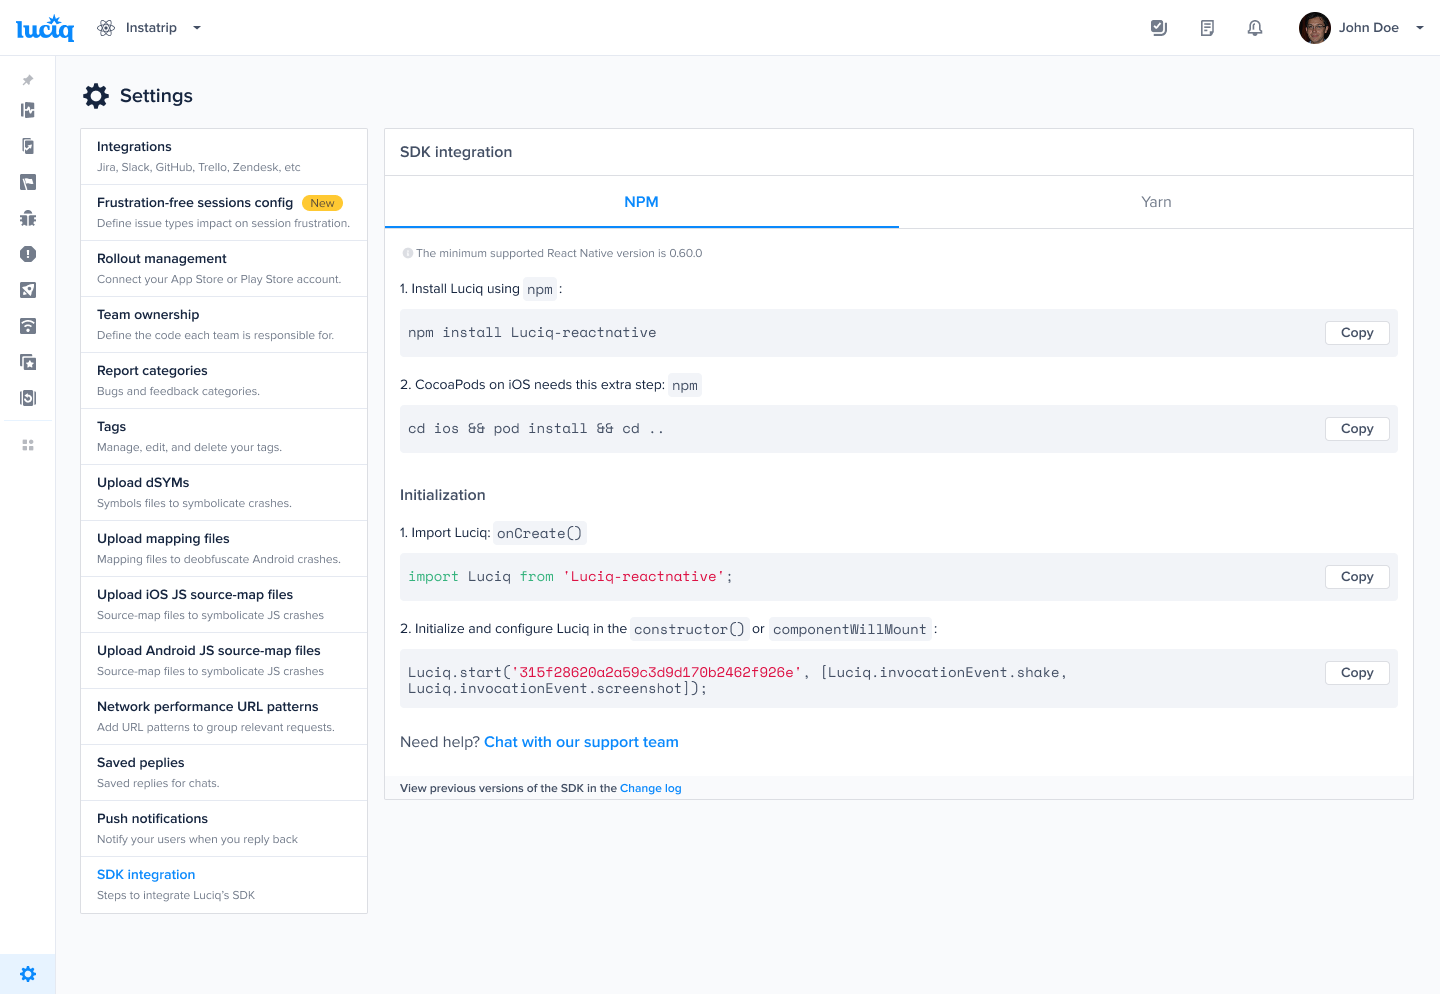
Installation
Using Luciq
import Luciq, { InvocationEvent } from '@luciq/react-native';

Luciq.init({
  token: 'APP_TOKEN',
  invocationEvents: [InvocationEvent.shake],
});
Managing Permissions
Last updated